There’s something special about baking bread. The feel of the dough in your hands, the slow magic of seeing it rise, the delicious smell spreading through your home – it’s about more than just food. Baking can be a way to relax, to focus on the here-and-now.
Learning a new skill is always exciting. It feels good to master something, building your confidence one delicious loaf at a time. Baking is a bit of science, a bit of art, and an adventure with every try.
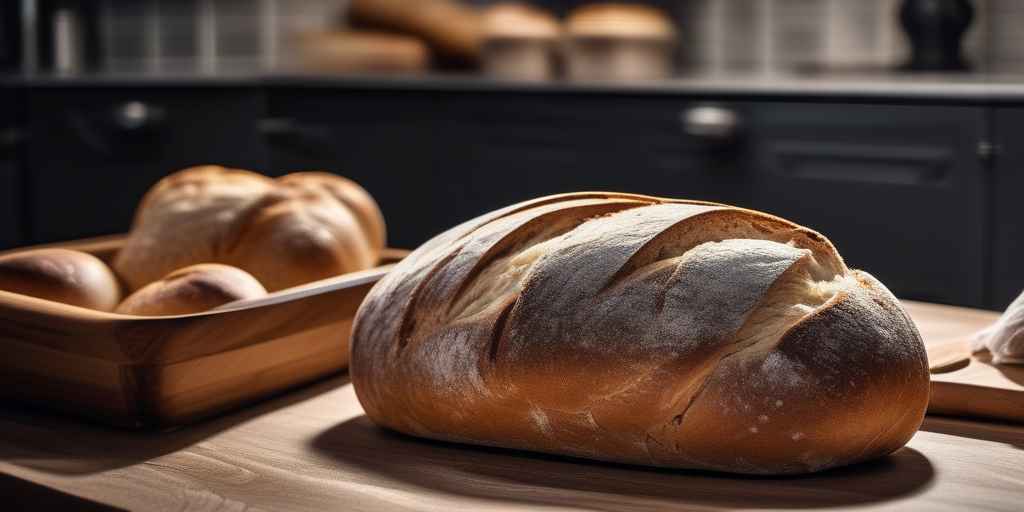
Now imagine this: after the kneading, the rising, and the baking, you get the best reward ever. That first bite into your own, homemade bread is pure joy. The warmth, the crackly crust – it’s an experience you just can’t buy at the store.

Don’t let fancy words like “fermentation” scare you. Baking bread can be a lot easier than you think, especially with the right tools. That’s where the Dutch oven comes in. This simple pot is like a miniature professional oven right in your own kitchen, making it easy to get amazing results even if you’re a total beginner!
The Magic Begins: A Simple No-Knead Recipe
The recipe that follows is a testament to the Dutch oven’s forgiving nature and ability to unlock the magic of bread baking for even the most hesitant novices:
Ingredients:
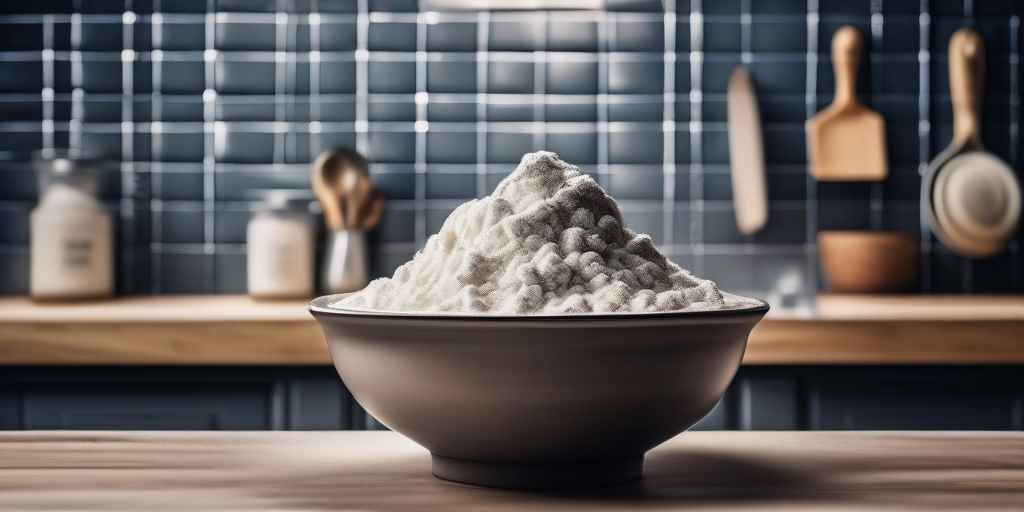
- 3 cups all-purpose or bread flour (approximately 450g)
- 1 ¾ teaspoon salt (approximately 10g)
- ½ teaspoon instant yeast (approximately 3g)
- 1 ½ cups cool water (approximately 350ml)
Instructions:
- Combine: In a large bowl, whisk together the flour, salt, and yeast. Gradually add the water, stirring with a wooden spoon until the mixture forms a shaggy dough.
- Initial Rise: Cover the bowl with plastic wrap or a reusable cover and allow the dough to rise at room temperature for 12-18 hours. It will become bubbly and more than double in size.
- Shape: Lightly flour your counter and gently transfer the dough onto it. Fold the dough over itself a few times, just enough to form a rough round shape.
- Second Rise: Place a clean kitchen towel in a bowl and dust it generously with flour. Place the dough on the towel, seam-side up, and lightly dust the top. Cover with another towel and let rise for 1-2 hours, until nearly doubled in size.
- Preheat: 30 minutes before the end of the second rise, place a Dutch oven with its lid inside your oven and preheat to 450°F (230°C).
- Bake: Carefully remove the hot Dutch oven. Gently place the dough inside, cover, and bake for 30 minutes. Remove the lid and continue baking for 15-20 minutes more, until the loaf is a deep golden brown.
- Cool: Resist the temptation to cut immediately! Allow the loaf to cool on a wire rack for at least an hour before slicing to ensure a good crumb structure.
The Dutch Oven Difference: Why It Works Wonders
The secret to the Dutch oven’s success lies in its ability to mimic professional setups. Here’s what it achieves:
Steam Trap: The lid creates a humid environment within the pot during the initial part of baking. This steam prevents the crust from setting too quickly, allowing the loaf to achieve its maximum “oven spring” (rapid rise). Also, this moisture helps gelatinize the starches on the bread’s surface, resulting in a wonderfully crackly, glossy crust.

